Getting started with Patient Fusion online patient scheduling
Bringing in new business to your practice can be costly and time-consuming. We developed Patient Fusion online scheduling so you can fill your schedule without taxing your staff.
Over half of all Americans want to be able to schedule appointments online (according to Harris Interactive). With seamless scheduling linked directly in your EHR workflow, Patient Fusion online scheduling software allows you to find new patients with no added hassle.
Try searching for providers in your practice from patientfusion.com and read on for a step-by-step guide to setting up your practice profiles.
Step 1: Check your schedule
Make sure your schedule isn’t inaccurate
Before you begin, go to Add’l Public Info in the Profiles tab under the settings gear, where you can visit and manage profiles for all eRx-verified providers in your practice.
On the profile you’ll see an online scheduler, which will automatically match your EHR. Patients can use this scheduler to request new appointments with you. If you see open time blocks like the image to the right, make sure to accurately set your EHR schedule so patients don’t request the wrong appointment times.
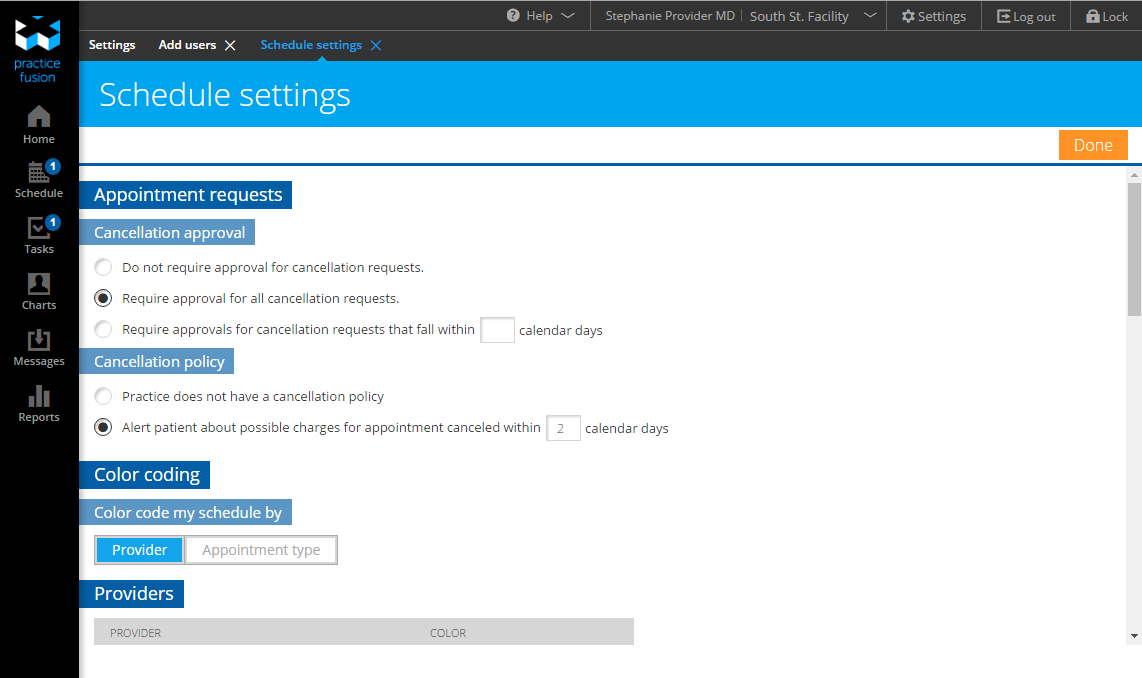
Action item: Change your office hours to ensure your schedule doesn’t show the wrong appointment times. From the Settings tab of your Schedule section, select your facility, then set your availability. 
Step 2: Learn how to manage appointment requests
You’ll see a notification for new appointment requests in your Schedule section. Under Appoint
ment Requests , click Approve to automatically add a patient to the schedule. You can also Deny the request, or edit as follows:
-
Reschedule using ‘Appt time’ and ‘Appt date’.
-
Select an appointment type and duration.
-
If the patient is in your EHR, you may see a ‘Patient match’. Click on the name to check that the match is correct, or click Change to select a new patient.
-
If you don’t see a patient match, click Create or find this patient.
The patient will receive an email once you approve or deny a request.
Action item: Make sure you or your staff are regularly checking and processing new appointment requests. Try submitting test requests for your staff to practice the workflow.
Step 3: Complete your profile
A professional and friendly photo helps attract new patients, and the bio is a great place to tell patients a little more about your practice. You’ll also appear higher in search results with a complete profile. 
Action item: Choose a provider from the dropdown menu on the Profiles tab under the settings section, then click + add a photo. Click Edit in each section to update existing info and + add bio to add “About me” information. Make sure to indicate if you are accepting new patients.
Step 4: Showcase FAQs
Your practice can save time answering patient questions with profile FAQs. FAQs allow you to address any common concerns a patient might have before making an appointment. They also allow you to provide extra details about your practice, such as insurance you accept or diagnoses you specialize in.
Action item: Create new FAQs by clicking Create FAQ from the Actions menu under your new _Messages _section. Learn best practices here for creating FAQs.
If you have any other questions about your online profile, visit our Knowledgebase if you aren’t ready to use it yet.


